For months I have been trying to figure out what to do with our big blank dining room wall. I knew I wanted something textural and was slightly obsessed with these mega doily rugs that Woonwinkel (an amazing local home and gift shop) has hanging on their wall.
For months I have been trying to figure out what to do with our big blank dining room wall. I knew I wanted something textural and was slightly obsessed with these mega doily rugs that Woonwinkel (an amazing local home and gift shop) has hanging on their wall.
Since I am lacking the funds of $2000 for doily rug wall hangings, I decided to get creative. I was first introduced to string art by my friend Jenny’s roommate who made an amazing piece shaped like the state of Oregon with a heart where Portland is (similar to this).
When my husband wasn’t thrilled with the idea of nailing close to 100 nails in the wall, I decided to brainstorm other options. I liked the thought of using reclaimed wood, but was worried it would clash with our dining room table.
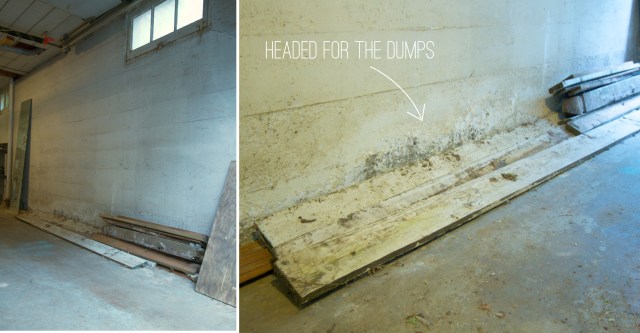
Then one day I was backing out of our garage and a magical light shined down on this big pile of junk. We had brought all this wood into the garage from the side of the house when we bought the house in December. I meant to throw it away, but wasn’t really sure how to go about disposing of 8 ft. wood boards that I can’t fit in my car.
In this case, my lack of initiative came in handy as these worn white wood boards were EXACTLY what I needed for my project.
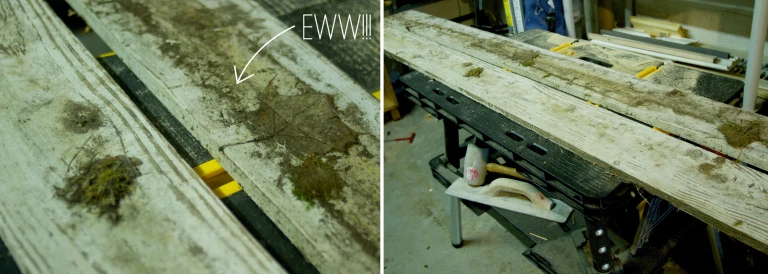
Unfortunately, they were a hot mess. There was moss and dirt caked on and they needed a lot of cleaning up.
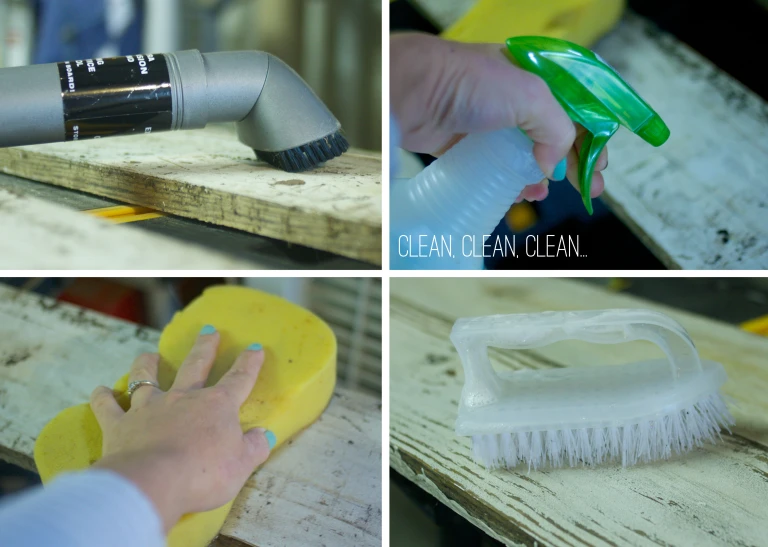
I vacuumed up the the majority of the mess and then wiped it down with a solution of Dawn soap and water that I put into a squirt bottle. Most of it came off with a sponge, but there were some tough spots that I had to use a scrub brush to get loose. I also did a second wash with Murphy Oil Soap, but probably didn’t need to.
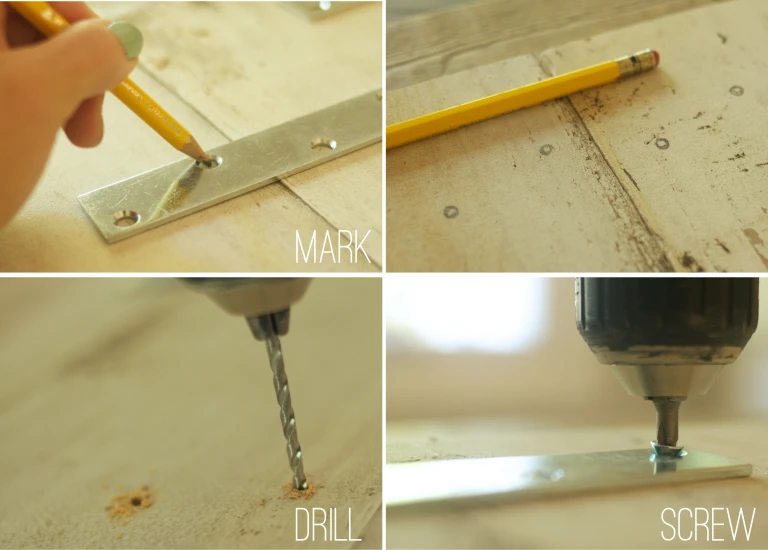
I lined up the boards a bunch of different ways until I was happy with the arrangement. I wanted to make sure the little notches in the wood and the wood patterns were balanced. Then I flipped them all over (carefully not to mix them up) and marked where I would drill the holes.
I used metal braces to attach the boards to one another. I probably could have used another strip of wood, but I wanted it to be as flat as possible. I predrilled the holes and then screwed in the plates.
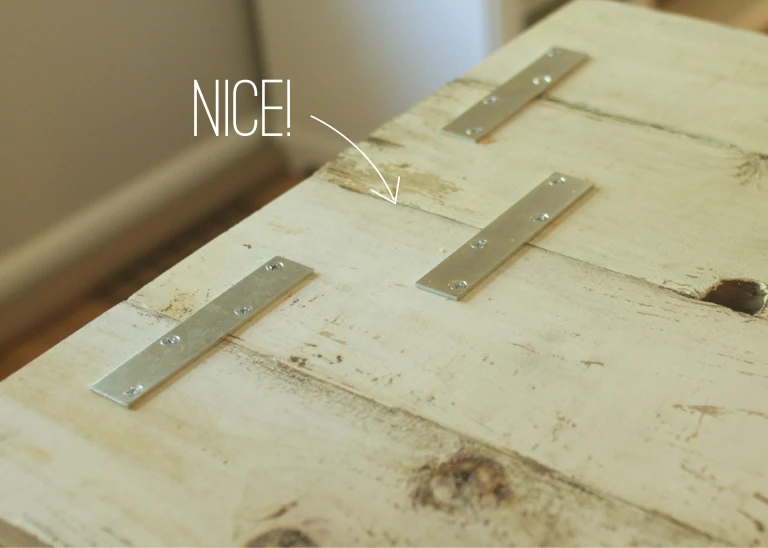
This is what the boards looked like (on the back) when I had them all attached with the metal braces. I repeated this pattern on the other side of the boards, so I used 6 metal braces to attach the 4 wood boards.
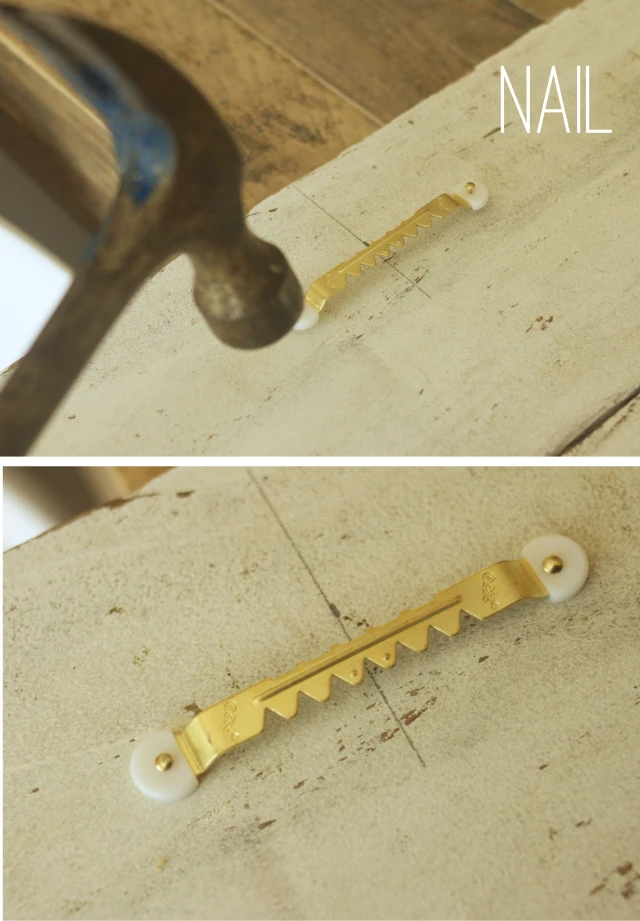
Because it was so big (four feet long) and heavy, I decided to use two picture hangers on the backside. I measured where I wanted to attach them on the wall first and then measured the corresponding places on the board. I measured down 2 inches from the top for each hanger so they would be level with each other.
If you follow my Instagram account, you may already know that I scored an amazing deal on an overhead projector recently. I got this idea from Barb Blair’s new book Furniture Makeovers and I have to say, I am pleased with the results. So much easier than stenciling! If only I had this when I made my Father’s Day beer crate…
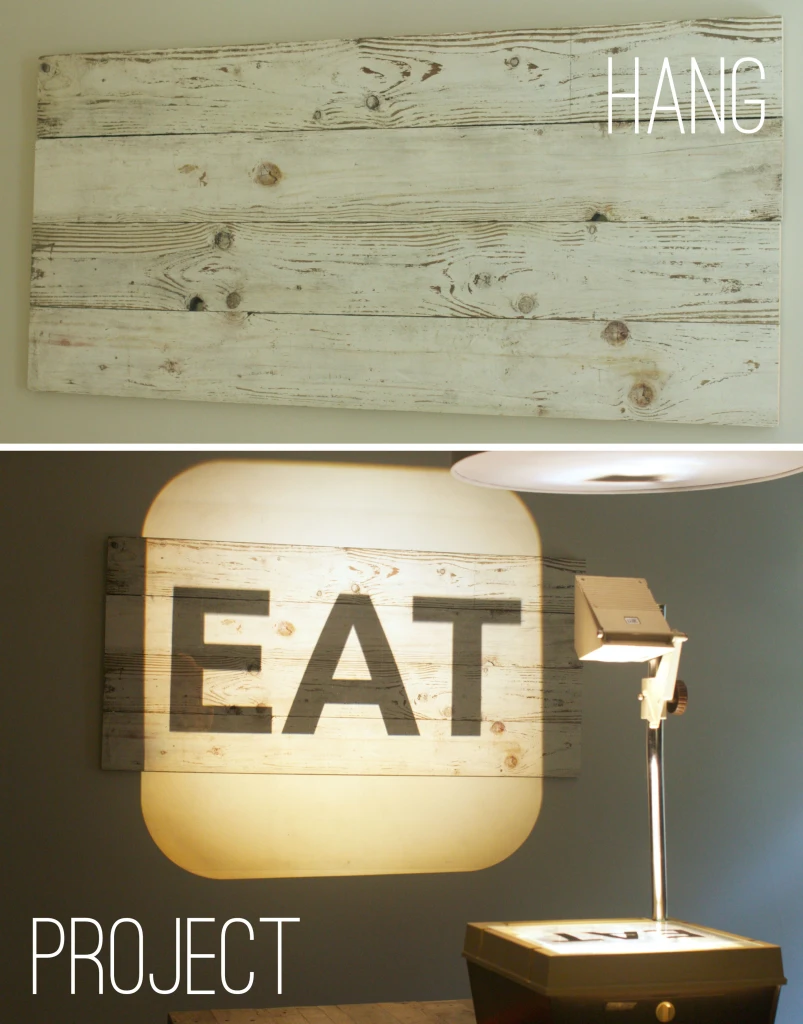
So I hung the reclaimed wood on the wall and projected the image I wanted to create onto the wood. Then I lightly traced the image with a pencil.
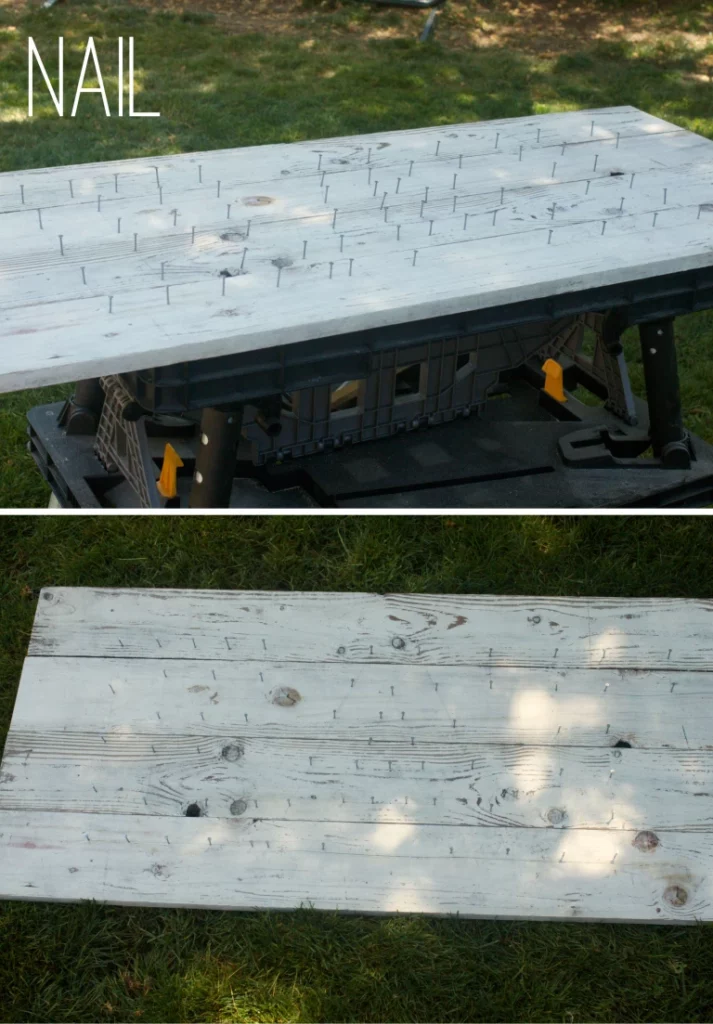
I then took it outside and nailed some flat-headed nails into it, starting at all the angle points and then filling in along the lines as needed. *It is important to use nails with heads so the string doesn’t slip off the nail. Don’t use finishing nails.
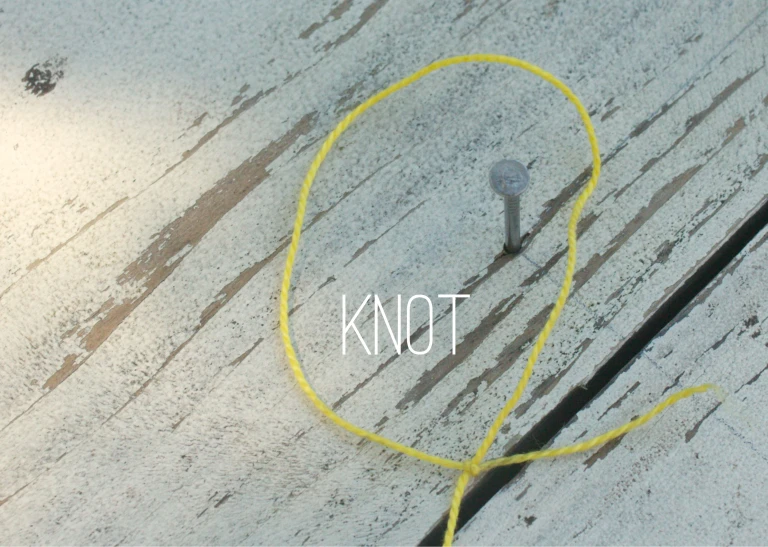
I made a slip knot so I could get it nice and tight around the nail. Once it was tight, I trimmed the end.
Up until this point, the project was pretty smooth sailing. Getting the string work right was a little trickier than I thought. I wish I could say I got it right on the first try, but I’d be lying.
I started out using yellow embroidery thread (luckily it was just some spare that I had laying around) but it was so thin, the graphic didn’t really make an impact and being such a pale yellow, you could barely even see it at night.
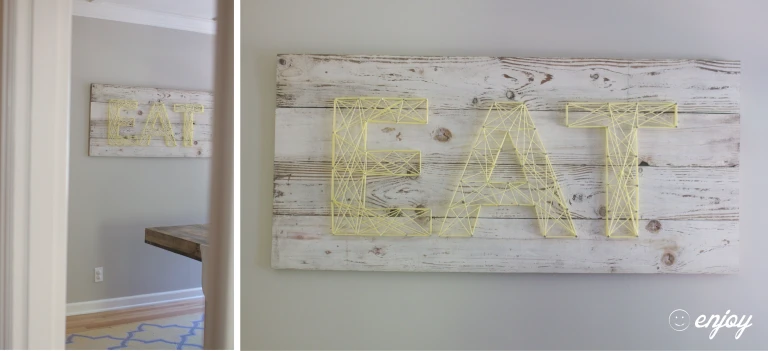
I upgraded to a pale yellow yarn, but it still wasn’t bold enough. I finally figured out how to make it stand out by “outlining” the letters first by wrapping the yarn around the outside of the block letter multiple times to create an “edge.” Then, I simply continued the string criss-crossing through the middle of the letters to get the “fill” effect.
I am super proud of my reclaimed wood string art piece and I am so excited to share it with you! For about $20 I brought in a lot more color to my dining room and created a piece we really enjoy. My 20-month-old son keeps walking by it and saying, “EAT!” which is more than enough gratitude for me!