To say I take Christmas wrapping seriously would be an understatement. When I was a kid, I loved waiting in the Macy’s gift wrap room and looking at the numbered displays while my mom was using the adjacent ladies’ room. One year, I helped my mom hand-stamp and emboss ALL of the Christmas wrapping paper (I was probably 8 or 9 years old).
I’ve been plotting and planning Christmas gifts and how to wrap them for as long as I can remember, so I was really excited to get to share some of my ideas with you this year. The only problem is that the day after Thanksgiving, we took off for Palm Springs. Blogging away from home is one thing, but crafting away from home is quite the other.

In Palm Springs, I didn’t have ANY of my crafting supplies. No craft punches, no embossing tools, no hot glue gun… I didn’t even have SCISSORS! But I tried to look at it as a positive; without any of my crafting tools, I could create holiday gift wrap ideas that anyone could create, no matter where they were or what tools they had.
I like to create some variety underneath my Christmas tree, so I took five different wrapping supplies and created five different looks to share with you today. Yesterday I shared with you some of my inspiration and here is what I came up with:
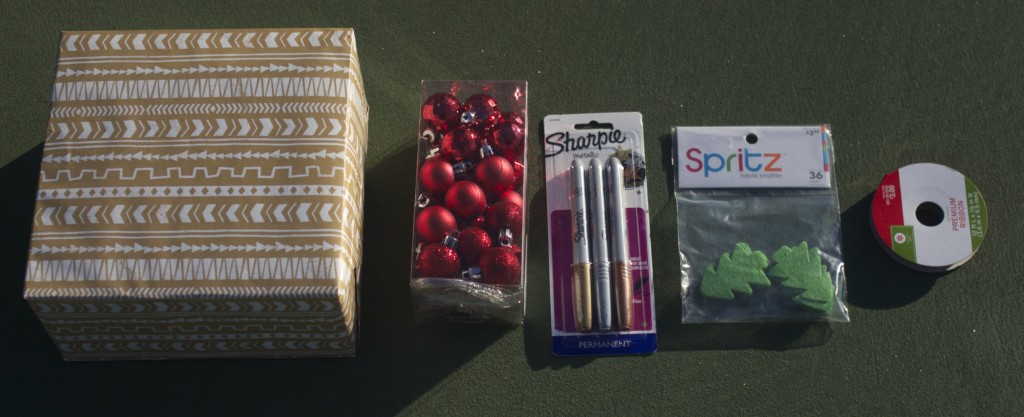
First, I went to the local Target and looked for supplies. There is no Joann’s here and there IS a Michael’s, but I wanted to keep with the concept that anyone could recreate these looks and it seems like Target’s are more common than Michael’s.IMG_7286I picked up these 5 things: wrapping paper, mini plastic red ornaments, metallic Sharpies, felt Christmas tree table scatter and red velvet ribbon. I did borrow scissors and some Scotch tape from the friendly people at the hotel front desk.
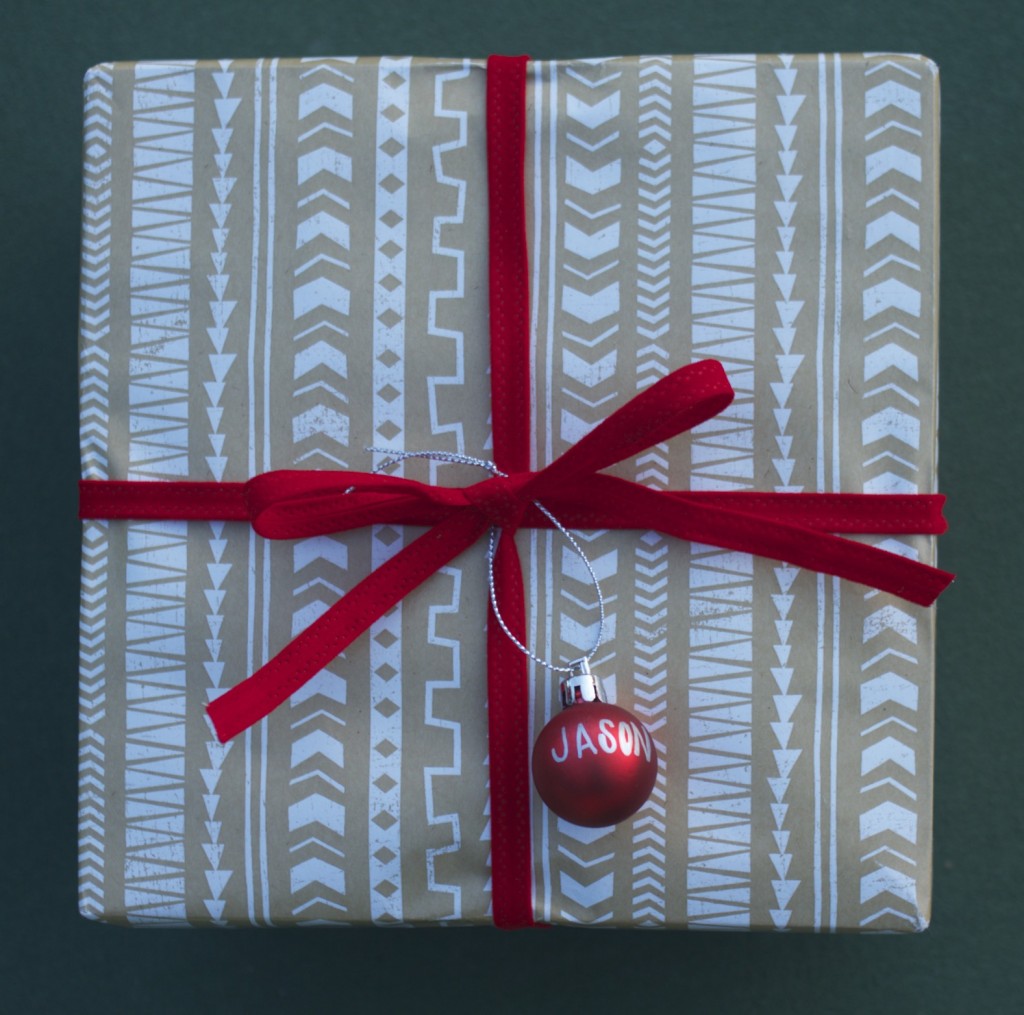
I created the first look with a traditional ribbon tying and bow and then I tied on matte plastic ornament that I personalized with the metallic Sharpie. This wrapping concept also takes care of the gift tag!
For this next look, I made a simple “belt” for the gift, by simply cutting two slits in the center of the “table scatter” felt tree. Then I slid the ribbon in and out of the slits from both sides and trimmed the ends.
This way of tying ribbon uses a lot less ribbon than the first method. You start on the front of the bottom right corner and then move both sides around the back and to the front of the opposite corner. Tie with a simple bow and then affix with two of the ornament “charms.”
This method used the traditional tying of the first example, but instead of a bow, I cut a criss-cross into the tips of the trees and pulled the ribbon through all three trees. Then, I arranged the trees to look like holly leaves and used the ribbon that I pulled through the top to make little holly berries.
On this last version, I thread three ornaments through the ribbon and then wrapped the ribbon around the gift four times. I fastened the ribbon in the back of the gift with a knot and some Scotch tape.
In order to create even MORE variance between your packages, I traditionally purchase two or three coordinating wrapping papers to use. Any more that that will make your tree look cluttered.